I have been looking at photos from our travelers, guides, and staff for the past 29 years. It is not easy to take great action photos – or even good group shots. Here are a few tips for you, along with examples.
Set the Stage in Advance
The best action shots rarely happen by accident. They are planned. When I see a scenic location, I will stop the group to ask if they want to take a photo. Or sometimes I will bike, skate, or hike ahead to shoot the group as they pass. I am looking for a good background, the right sun angle so people’s faces are not in shadow, and often a slight elevation change or curve in the trail or route. Here is a shot I took on our Iowa tour where I could see the curve in the trail, skated ahead, and shot the participants as they passed.

Direct the Action
Sometimes I actually tell people in advance I want to stage a photo shoot and ask for volunteers. I then pick one person to shoot photos and one to shoot videos and place them in the right spot on the trail or route. I gather the group together, tell them where they will start (often just out of sight of the video taker), and to continue hiking, biking, or skating past the people taking video and photos. The group should stay relatively close together – especially on bicycles it is easy for the group to get much too spaced out. Each person needs to make sure they can see the camera – or the camera can’t see them. And finally, you can choose whether people can acknowledge the camera with waves and smiles or not. Here is a staged shot we did after lunch on our recent Flaeming tour in Germany – ignore our guide Cyril talking as he shoots – he knows we will not use the video sound.
Feature the Subjects
Many of the photos I see from tours focus on the scenery. Yet I can find amazing scenery shots on the web. What is special about photos on tours is what makes the tours so special – the people! I like to feature the participants, cropping the photo if necessary to do so. Here is a photo in which there is plenty of scenery and yet the bikers are the clear center of the photo.

Taking Good Group Shots
It is just as hard to take good group shots. Why? Well, most people want to organize a group shot so everyone is standing in line like we did in grade school for class photo day. (Don’t tell anyone but – boring!) Instead, ask the group to show a little personality. Lean against something. Sit down. Spread out. As an example, see this group shot from our recent tour in Germany:

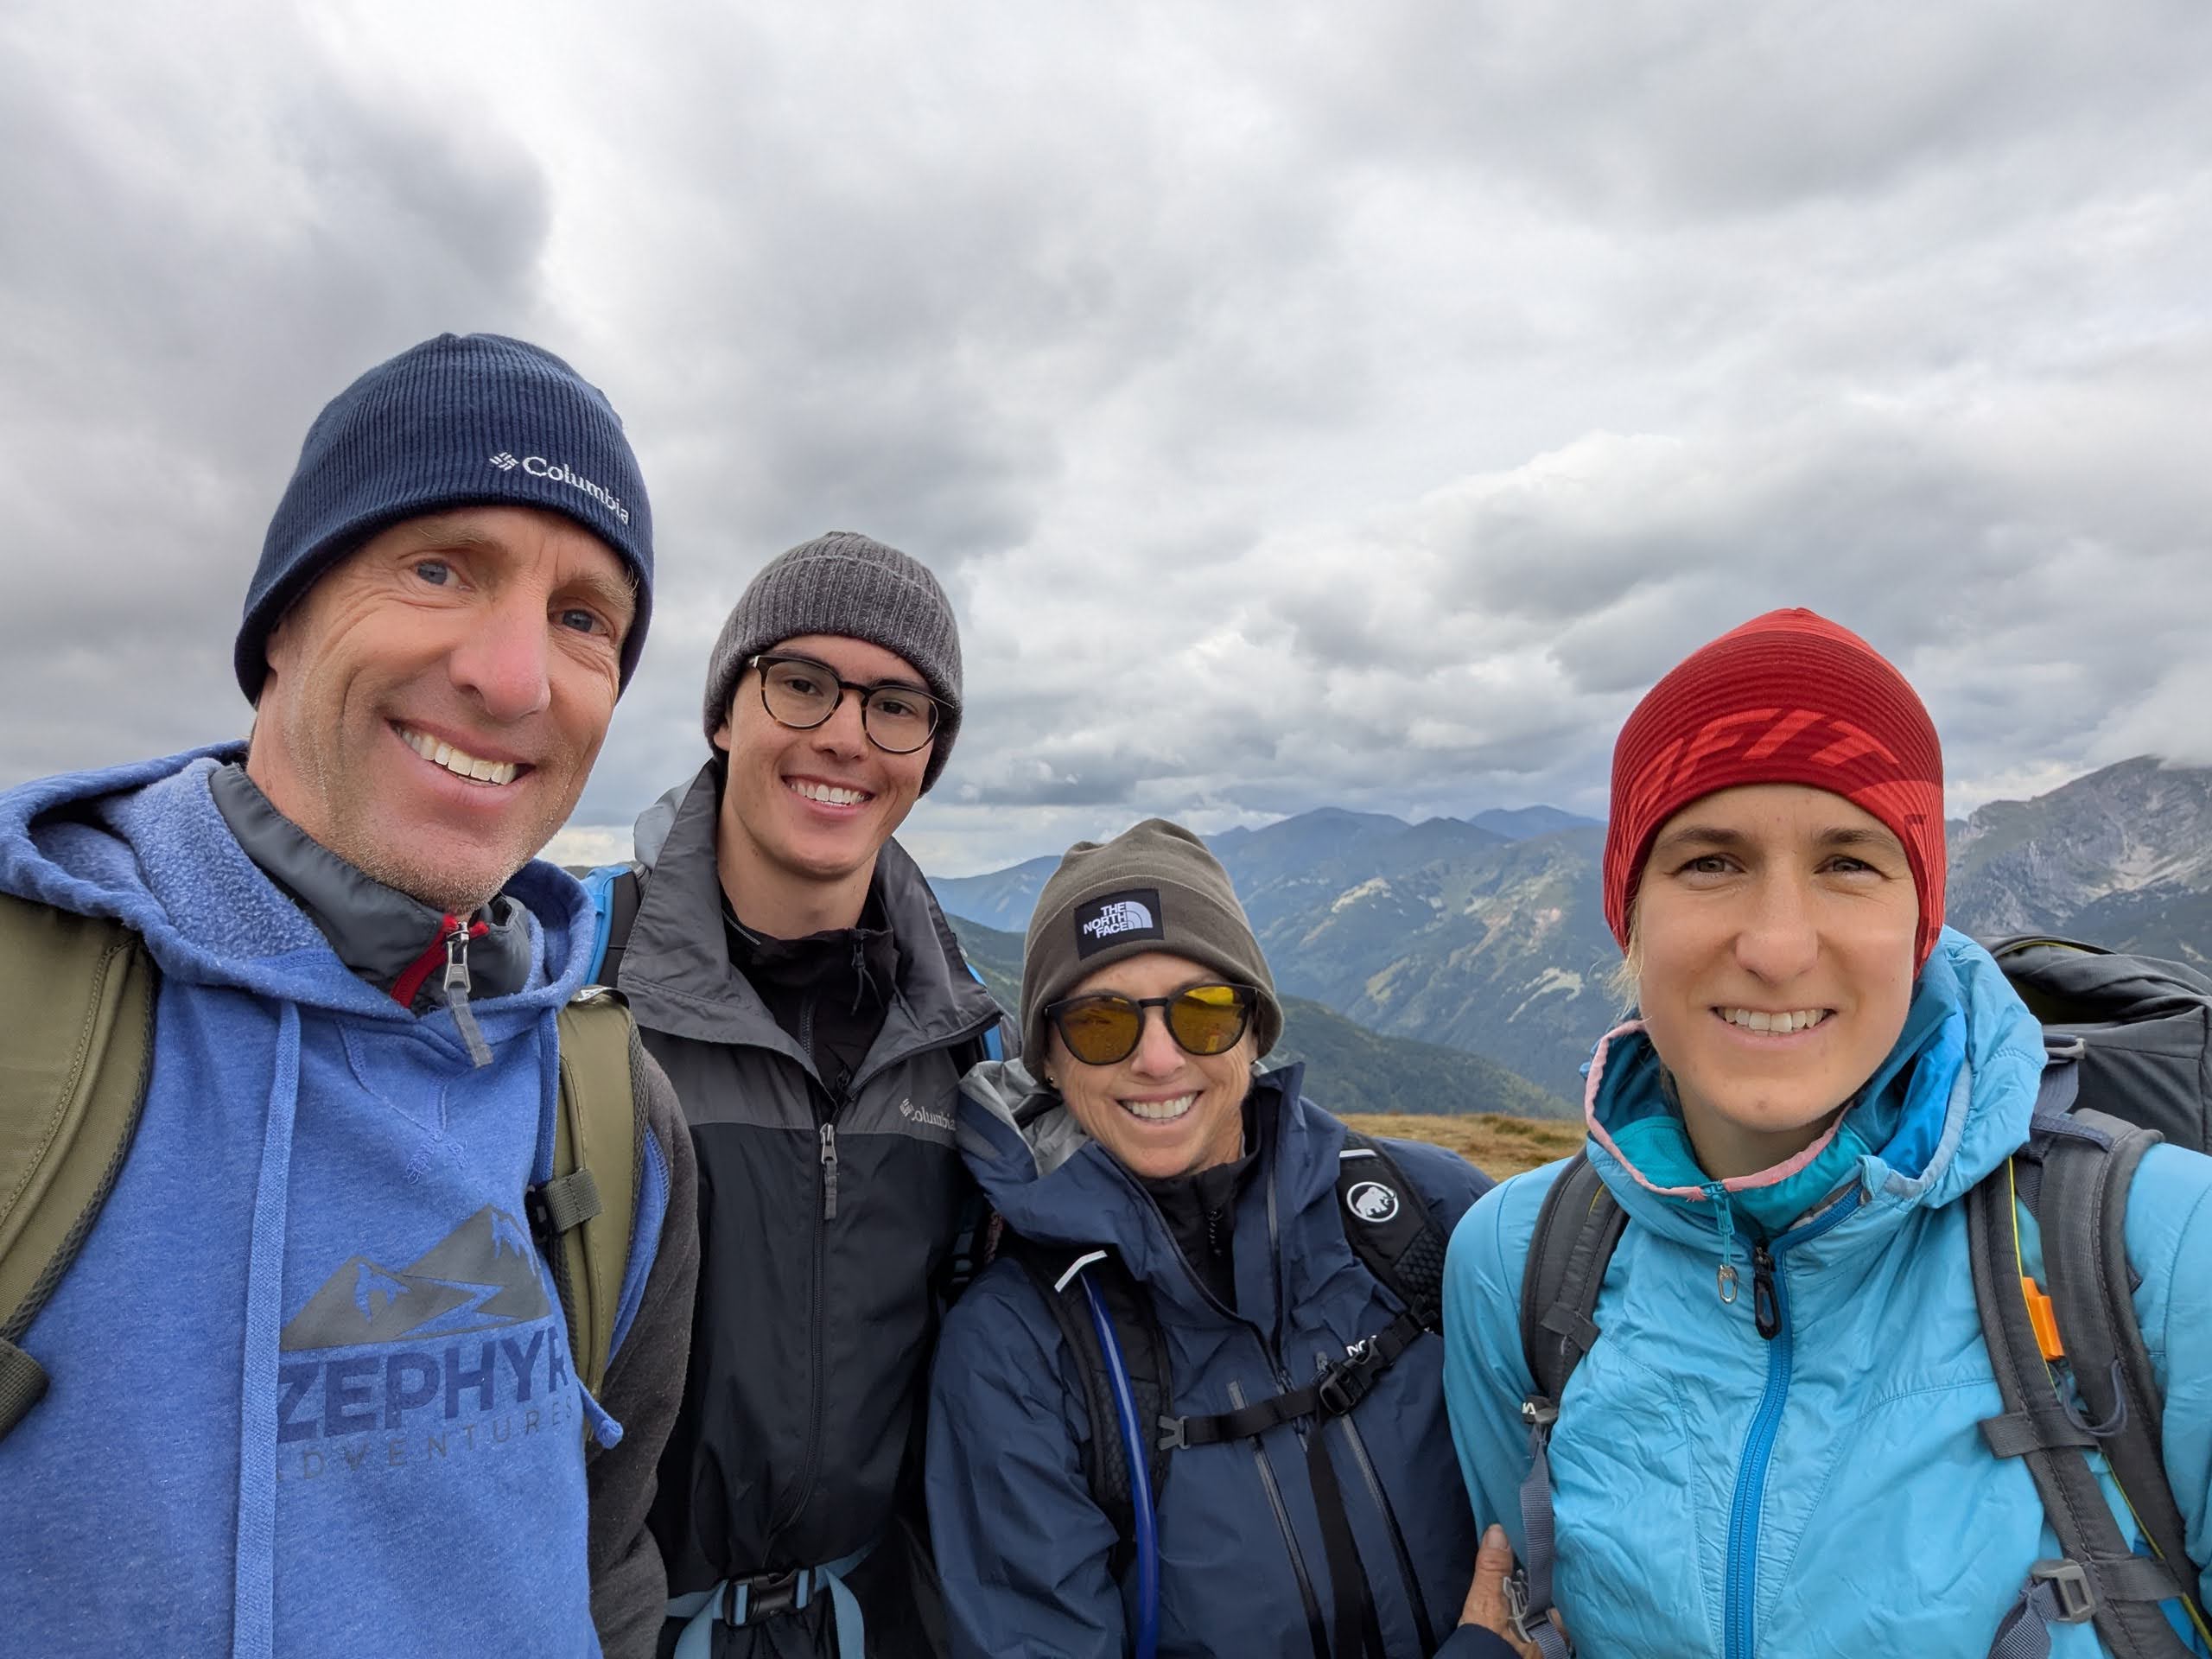
Wear Bright Colors
Photos are dramatically better when people wear bright colors. If you know you are going to take a group shot or stage a photo, ask people to wear bright clothing – no blacks, whites, browns, and grays. Here is a shot of the four of us in the Zephyr office at our annual meeting – we actually took off some drab outer layers to make the photo pop.

I hope that helps you take good action photos and group photos on your next tour with Zephyr Adventures!
Thanks Allan, all good pointers on action photos. He’s a few more:
– Any camera and phone camera can take great action photos under the right conditions if you understand their features & limitations when it comes to moving subjects. Equipment with more capabilities will give you more options. A phone camera can often take photos more quickly and is useful, for example, if you’re hiking and don’t want to hold up the group while you diddle with your regular camera. They also often have sophisticated capabilities like manual settings, the ability to take RAW files, and achieving high dynamic range by easily combining photos of the same thing taken at different exposure settings.
– Shutter speed matters. Any shutter speed less than 1/60th of a second will cause blur if anything is moving. Cell phones and fully automatics camera settings will probably take care of this for you under most daylight conditions by automatically using higher speeds. But if it’s a cloudy day, close to sunset, or a night time scene (say after dinner drinks with the tour group at an outdoor cafe) leaving your camera on auto will risk reduced color range, increased grain, lost clarity, and an overall flatter-looking photo. Learn how to set your camera for low light conditions or just use your phone. Below 1/60th, you can intentionally get blur to show motion – a person’s body might be moving slow enough to be sharp, but the bicycle spokes are moving fast and might blur. To see the effect of shutter speed, try taking a photo of a waterfall at 500th/second and 40th/second.
– If faces matter, try to avoid bright sunshine – it washes out subtleties in skin tone. Note the difference between the Bright Colors photo above and the mountain shot w/Allan at the top. In bright light, cameras will try to balance things in full sun and shade. Hats with wide brims will likely leave the top half of a face too dark to see and rescue with Photoshop. If you’re setting up a group shot, ask people to remove most hats and sunglasses. The hats in the Good Group photo above work because it was a day without distinct shadows.
– Actually look at what your camera if framing. Do you really want that ugly thing in the background? Is your camera unintentionally tilted (note the horizon line in the bicycle shot)? Somethings you can Photoshop out, but why have to bother.
– Give you subjects some context. Sometime a foreground tree branch or a rock on the edge of you shot will give the people and background more scale and depth – helping to show just how far away the background really is and how far you climbed!
Thank you, Rick!
Thanks, Rick! And Allan. 🙂